
- Register
- Dropcatch
- Auction
- Buy Now
- Cloud Products
- Other
-
Control Panel
- Account
- Finance
- Dropcatch
- Domain
- Buyer
- Seller
- Cloud Products Ticket System
-

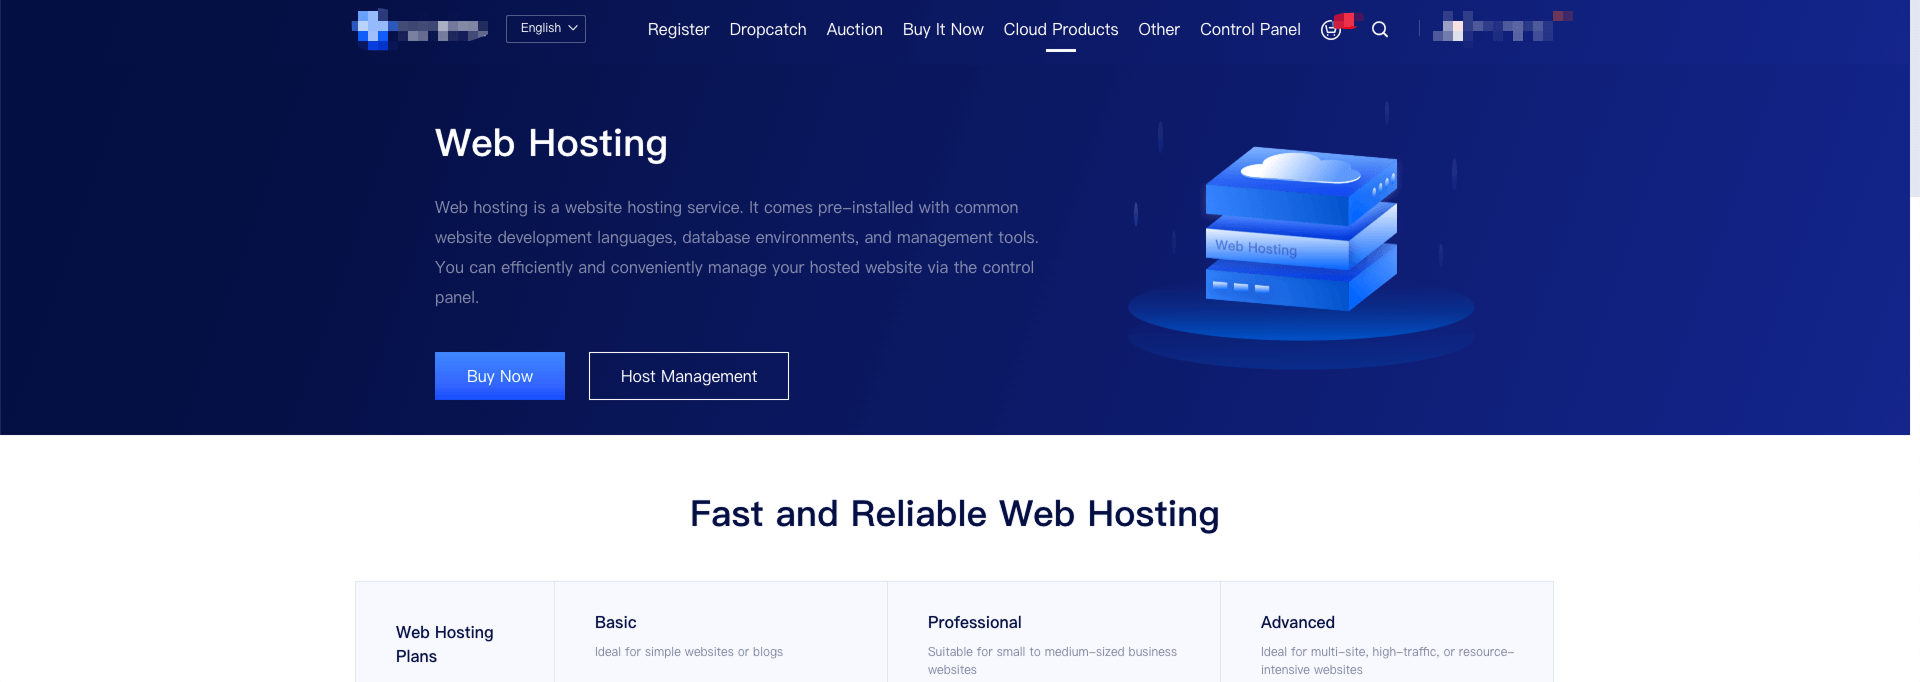
Step 1: Access the Web Hosting Page
Log in to our official website. Under the Cloud Products section, click “Web Hosting” to enter the feature page.

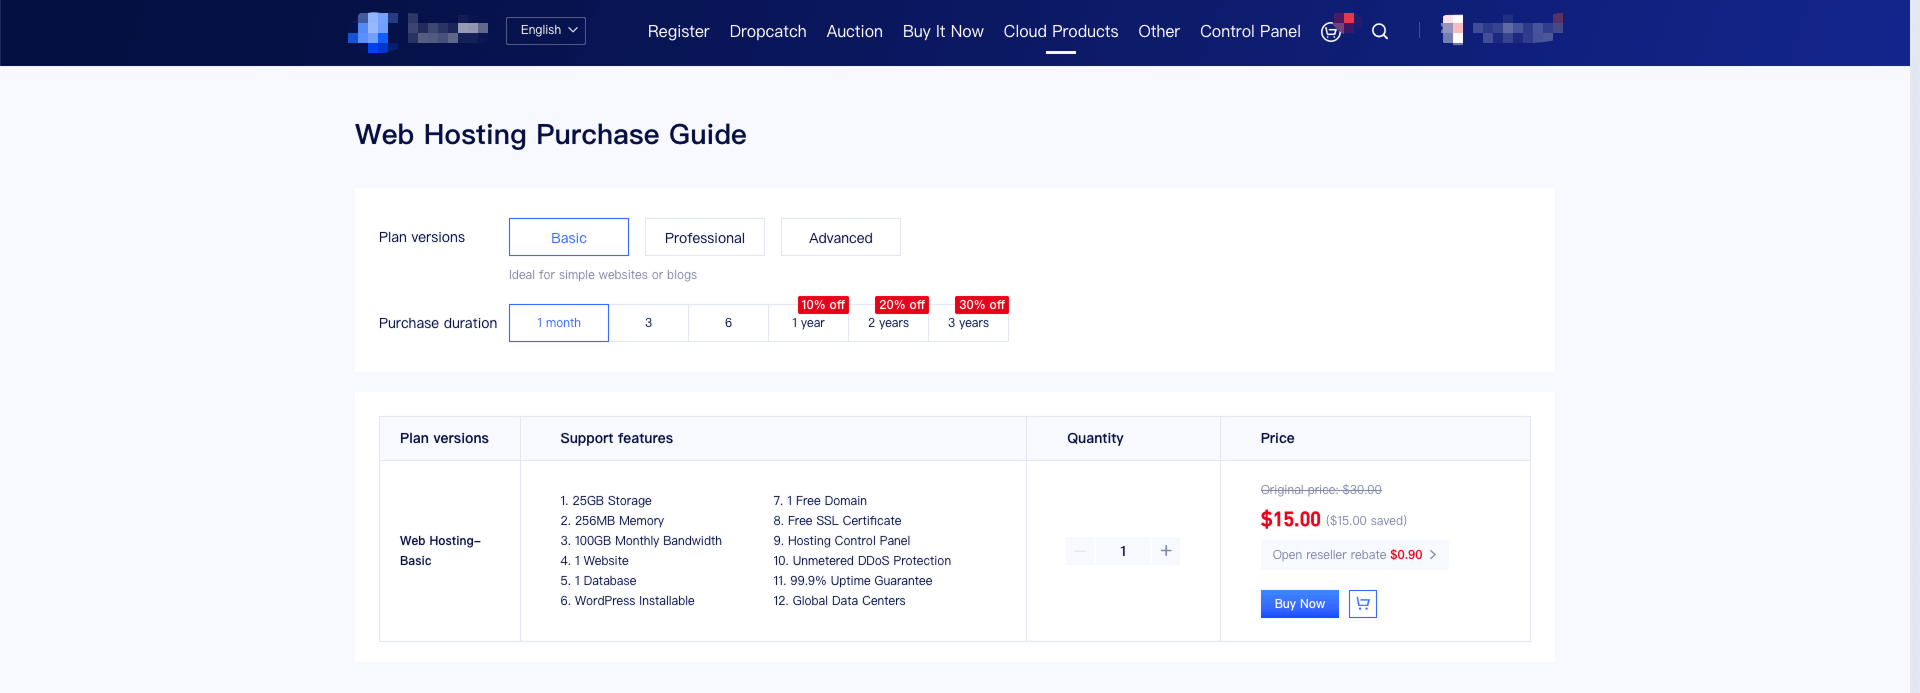
Step 2: Choose a Hosting Plan
Click “Buy Now” to access the purchase page and select the virtual hosting plan that suits your needs.

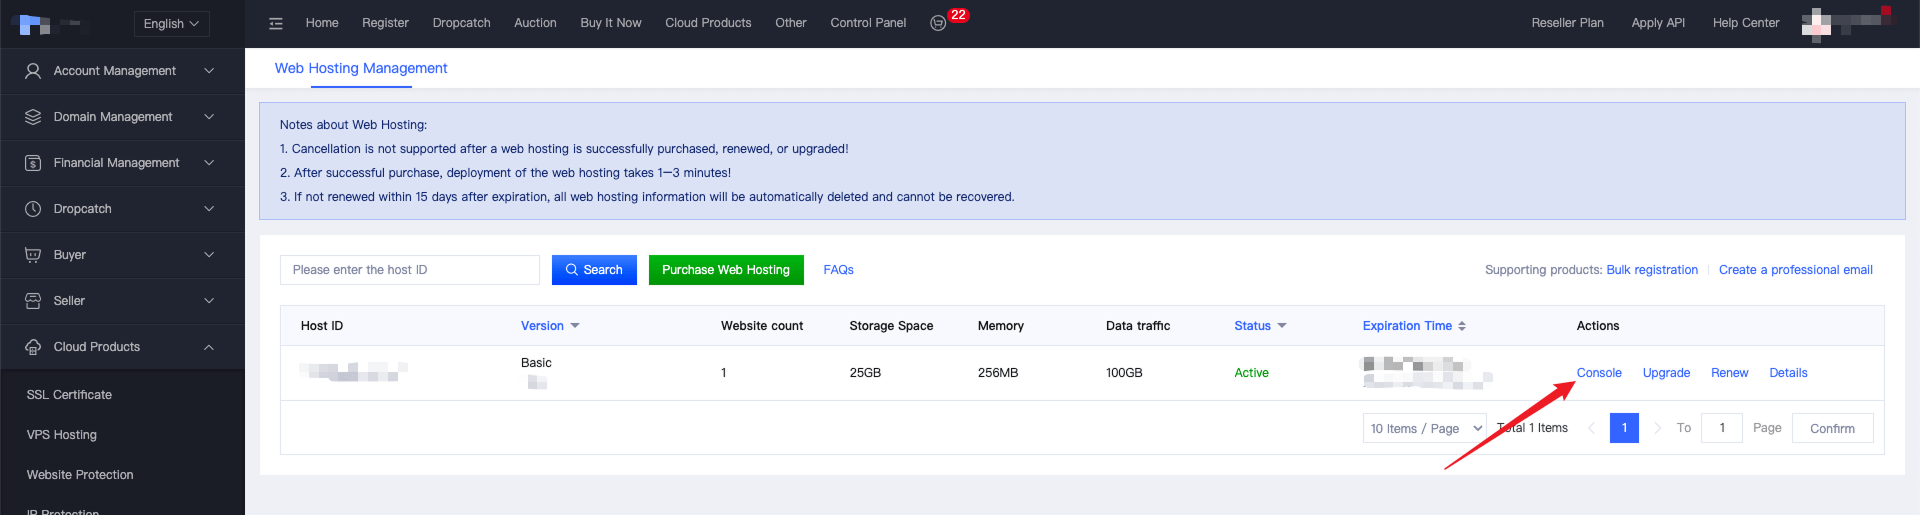
Step 3: Access the Console
Once your purchase is complete, go to the Web Hosting Management page and click “Console”.

Step 4: Manage Your Website
In the console, find “Website Management”. You can either add or edit a site. When adding, you may choose either:
1. Add Site via "Traditional Project"
For: Developers with some front-end/back-end experience.
The hosting environment includes PHP support, a database, and management tools for efficient backend site management.
Note: The number of sites depends on the plan:
Basic: 1 site
Pro: 10 sites
Advanced: 25 sites
If you reach the limit, you’ll need to upgrade your plan to add more sites.
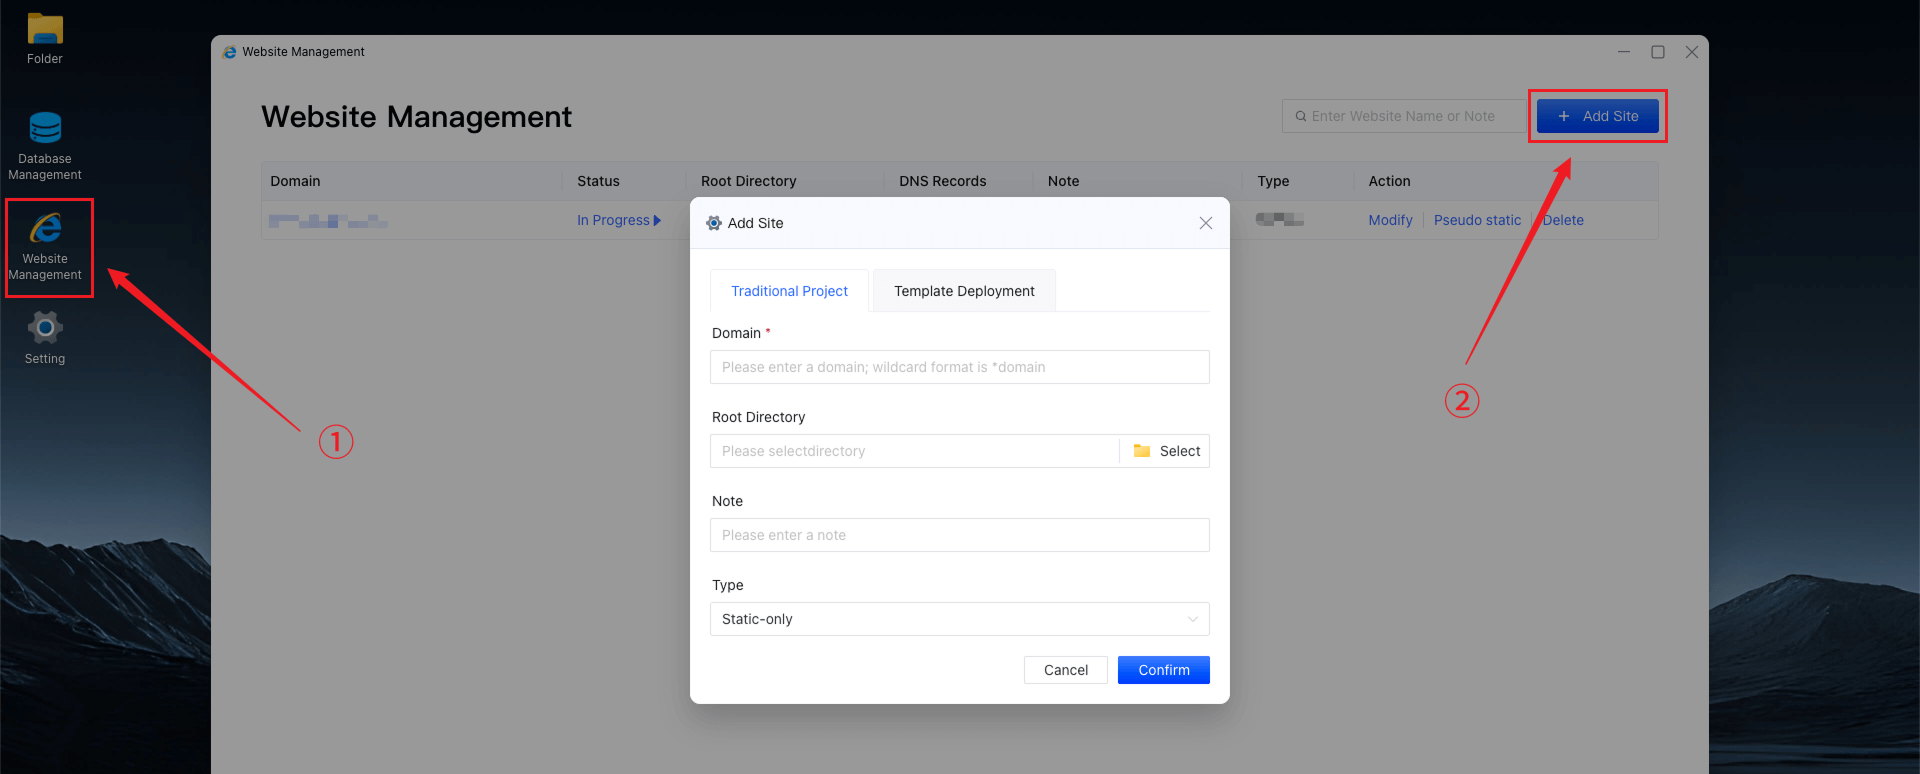
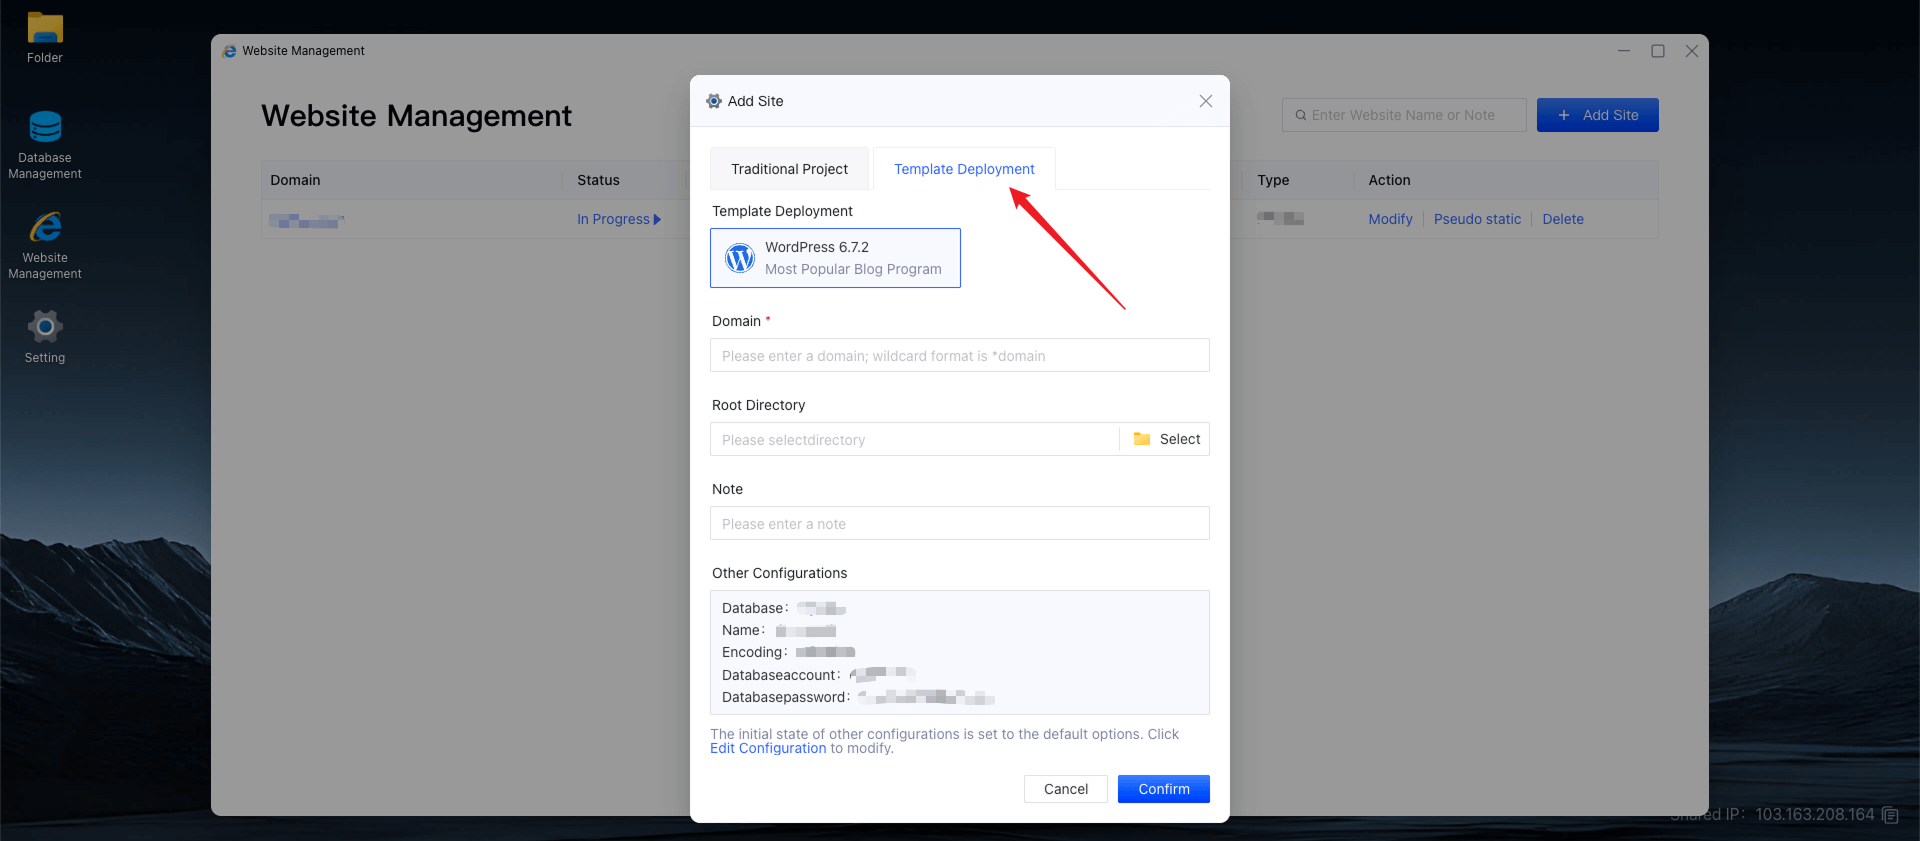
2. Add Site via "Template Deployment"
For: Users seeking visual setup with rich themes/plugins and quick launch, no coding background required.
Note: Each site must use a unique root directory. Avoid sharing root directories across multiple sites (it’s recommended to create a new root folder for each).
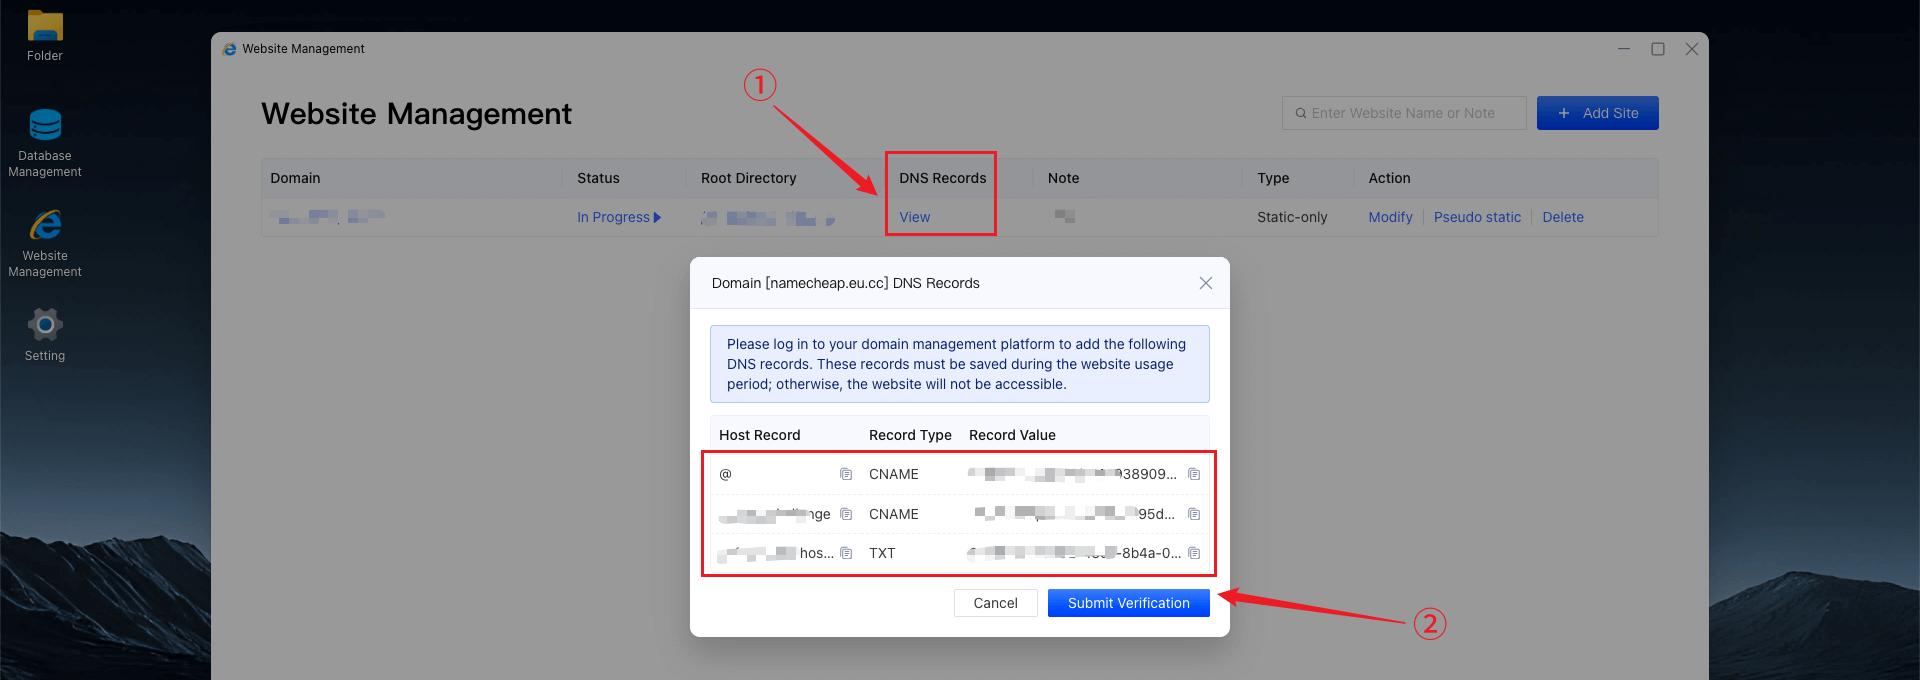
3. DNS Configuration
After adding the site, locate “DNS Records” in the list and click “View”. Wait for the system to generate DNS records, then go to your domain registrar and add those records.
Click “Submit for Verification” and wait 5–10 minutes for it to take effect.
Important: The DNS records must be kept during the entire time the site is live—otherwise, the site may go offline.
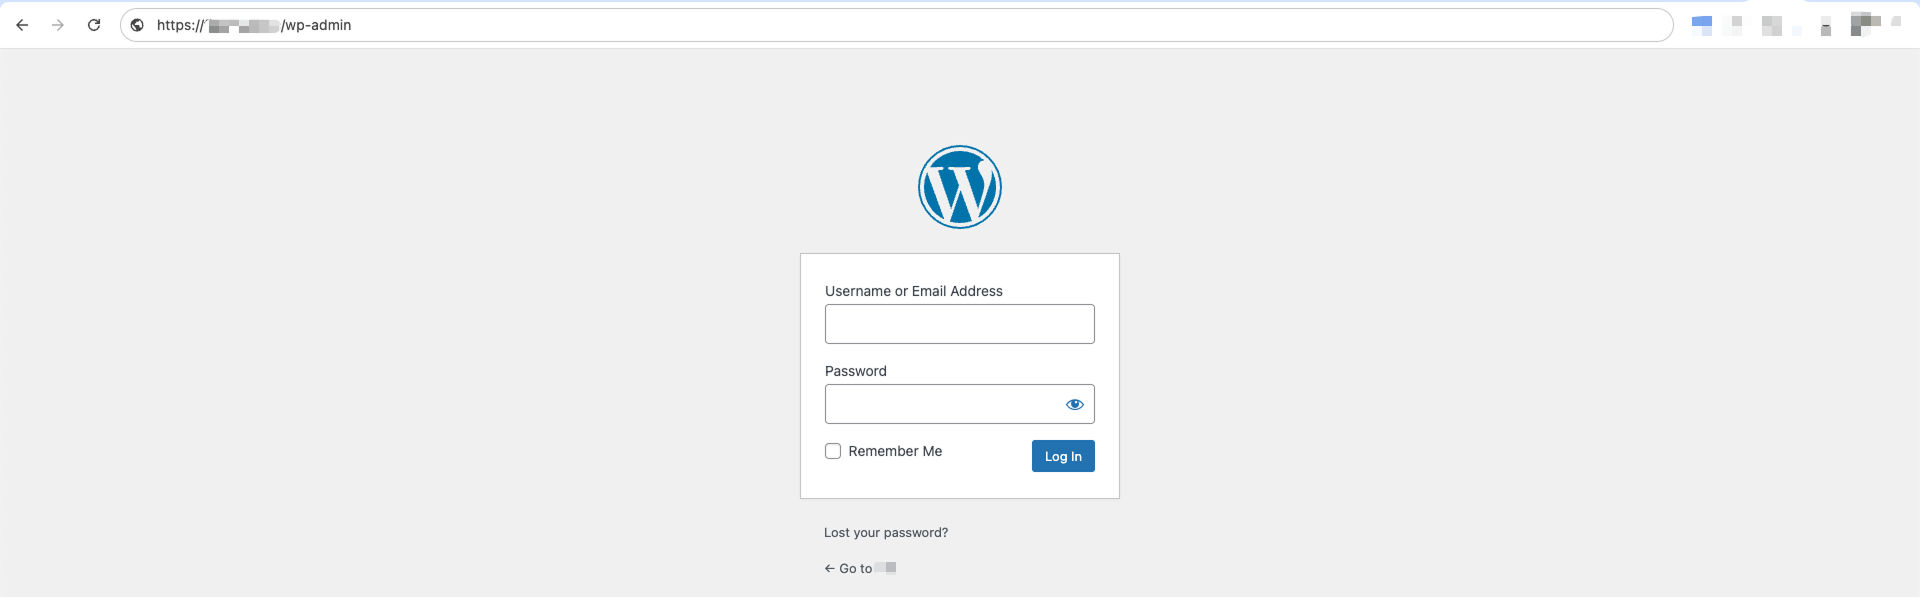
If you used the WordPress template, click on your domain to configure your site settings.

Default WordPress login URL:
https://yourdomain/wp-admin
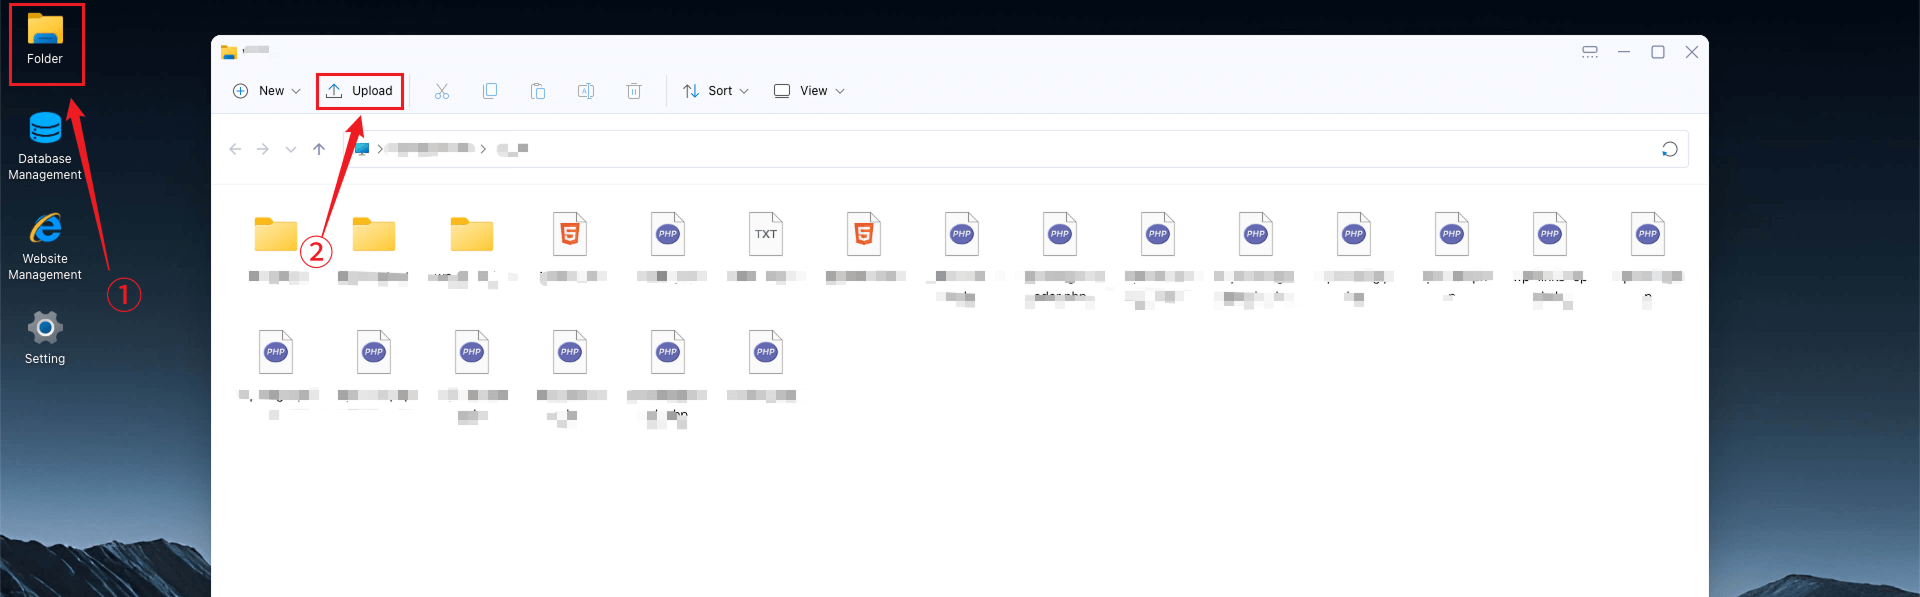
Upload Website Files
In the console, navigate to “Files” and upload your website files to the root directory of your domain.
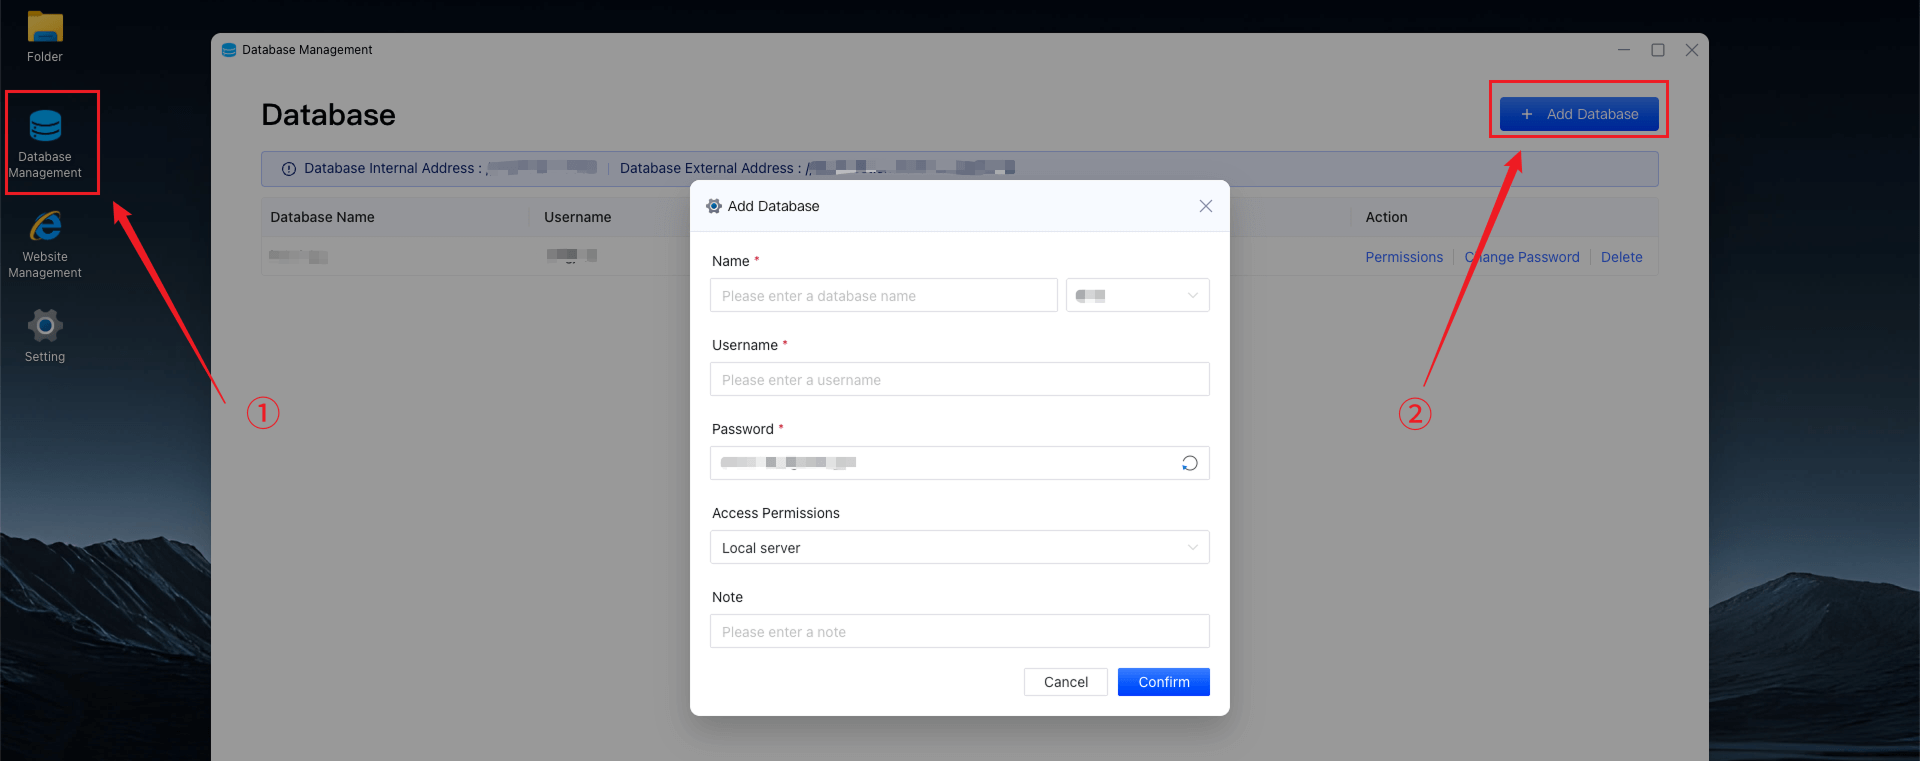
Database Setup
Go to “Database Management” and create a new database. Once created, retrieve its credentials and enter them in your website's configuration.
Note:
Database limits by plan:
Basic: 1 database
Pro: 10 databases
Advanced: 25 databases
Exceeding the limit requires an upgrade.
Final Step: Testing
Enter your domain in a browser to verify your website is live. If not, troubleshoot file paths, database settings, or cache issues.
That’s the complete process for using your virtual hosting service.
If you need help, feel free to contact our online support anytime. Thank you for choosing us!


 supports the following regional currency settlement:
AlipayHK (Hong Kong, China): Supports HKD Settlement
TNG eWallet (Malaysia): Supports MYR Settlement
Boost (Malaysia) : Supports MYR Settlement
GCash Pay (Philippines): Supports PHP Settlement
Billease (Philippines) : Supports PHP Settlement
BPI (Philippines) : Supports PHP Settlement
DANA Pay (Indonesia): Supports IDR Settlement
Kredivo (Indonesia) : Supports IDR Settlement
TrueMoney (Thailand): Supports THB Settlement
Rabbit LINE Pay (Thailand): Supports THB Settlement
K PLUS (Thailand) : Supports THB Settlement")


Current system time:2026-02-26 20:44:07(UTC+8) Privacy PolicyRegistrants' Benefits And Responsibilities SpecificationsRegistrant Educational Information
Copyright© 2026 VSNAME.COM. All rights reserved.